Showing posts with label FIGURES: 6mm. Show all posts

Saturday, November 8, 2014

New Project: Fallujah and Urban Iraq

For a long time now I have been keen to wargame urban modern combat such as what we see and read about in Iraq and in particular in Fallujah.

Having Force on Force and Ambush Alley rulesets gives me the rules to use and having a good collection of 20mm figures and vehicles gives me the figures.

However, I am in essence a 6mm gamer in that I love small unit tactics but with lots of figures on the table. Coupled with my inability to make good terrain and 6mm is a great option for me.

I have a good collection of modern 6mm figures as well due to a couple of decent purchases recently from GHQ and so have decided to do this project using 6mm scale.

To begin with I need to sort out my ground scale. It can't simply be 1/300 ratio because it would still make my table too small for the ranges and movement required to model in my games. So I decided to make my roads as wide as 1 x Amtrac or AAV7 with a line of troops.


My terrain will be my usual desert coloured cork tiles with sections of 6" x 6" square modelled terrain on top all joined together to form large areas of built up area. Each of these sections will have a road modelled along 1 edge.


This allows the flexibility to build roads with buildings along the sides as I go. These roads will be sealed with a pavement on the inside edge only so when it sits next to another section, the pavement on that 2nd section will made the edge of the road on that side. No section means that side of the road is unsealed or incomplete. No problem. If I put 2 x sections side by side with the road edges touching each other, this should model a double lane or major road.


Here are some pics of what I have been playing with so far:


The next steps are:
* to create a set of 4 x sections of city with road edges and place them down in different locations to test out some layout.
* paint up a platoon of USMC and AAV7s
* paint up a section of HMMVs

Saturday, September 27, 2014

Week Ending 28 September 2014

Finally finished a full division of Adler 6mm Napoleonics for Waterloo!

This is the British 1st Division (Guards) complete with commanders and limbers for the 2 artillery batteries. Label applied to the tray and it is set to go into the shelves to await being called into action!


Next up I need to rebase the French 1st Division and assemble and paint the limbers for its artillery and I will then have 2 divisions to do some rules play practice.

Friday, September 26, 2014

Week Ending 31 August Update - 1 task done

Recently I revised my thoughts around basing my 6mm Adler Napoleonics for Empire V.

Yet Again!

Last year I finalised my review of this and concluded to use double the width required and double the depth with 1 figure now replaced by a stand of 2 x 2.

This week I got annoyed at how long this project was taking and the psychological block so many figures was to my building and painting my units. So I have decided to meet in the middle and go with double the width thereby making my units 24 figures instead of 48. The original rules call for 12!

I will however still increase the depth from 5mm basing to 8mm to give more stability but the figures will be in 1 rank instead of 2.

Here is a british line battalion in line on the new basing


And here is the comparison from the original decision of 2 x 2 on 10mm base to 2 x 1 on 8mm base.


Now I will move ahead and rebase the entire British 1st (Guards) Division.

Sunday, August 17, 2014

Week Ending 17 August 2014 - 1 task down

My next task from my projects list was to complete an ADF fireteam and Bushmaster vehicle in 6mm. Figures are from GHQ and vehicle from Heroics and Ros.

Here it is. I scrapped the idea of converting a riflement to a machine gunner in each fireteam as in reality the SAW is about as short as the Steyr in 6mm so it would look wrong. I moved the converted gunners into the weapons teams which will follow shortly.

I was happy with Bushmaster until I tried the weathering. It looks just so weathered now its hard to see the original paintwork.

Here is the painting pattern I worked with:


So here is a single fireteam of 4 men with grenadier and SAW gunner and a single Bushmaster.


Next task is to complete a full ADF section by adding a 2nd fireteam and then some bad guys as well as antennae and flag to the Bushmaster.


I will then move on to completing my 1st Napoleonics French Division complete with limbers etc. During this time I will play around with sizing again as I am seriously thinking to changing back to double the wide and only single depth with 24 fig units instead of 48 figs.

EDIT: Having since seen the GHQ Bushmasters and the detail on those, and having a feeling my H&R Bushmasters look a little small next to me men, I may purchase some GHQ Bushmasters and replace them. Let me ponder that for a bit.

Wednesday, August 13, 2014

Week Ending 10 August 2014 - 2 Tasks down

These are the tasks I planned to do last weekend:

This weekend I intend to continue work on my 6mm moderns which I began again during the week as well as sort out some sample terrain cloth work for my local Tuesday night gaming group for our 2015 Waterloo weekend fight next June.

Firstly here are some shots of my 6mm modern conversions. A while ago I cut the machine gunner off the prone gunner and glued it to a standing figure in this post. It turned out pretty good so I needed to replicate this a few dozen times to fill out my troops. While not all my figures are unpackaged and cleaned up I did convert those I had on hand as per below with the original on the right and the recent converts on the left.


I also got the chance to spray paint a section of sandy coloured suede for my gaming group to show how a little green and yellow on top of the sandy colour can look like the dry summery wheaty terrain of Waterloo. I did go a little overboard on the green! They were not convinced! Although I think it looks good. :-)


Saturday, April 26, 2014

800 x 2nd hand figures ready to base!

If you've been following my posts since christmas you will be aware of the dozens of stands of 2nd hand French 6mm troops I picked up off someone off TMP. Each stand had 8 figures glued, sanded and superglued to cardboard and took me months to get them all unbased and cleaned up to be reused.

So here is the count:

110 x French Infantry Marching + 62 Command
80 x French Infantry Elite Marching + 9 Command
97 x French Infantry Grenadiers Marching + 25 Command
50 x French Infantry Marching with Greatcoat + 6 Command
239 x French Infantry Charging
24 x French Infantry Elite Charging
47 x French Infantry Grenadiers Charging
49 x French Infantry Charging with Greatcoat

12 x Polish Lancers
24 x French Lancers
12 x French Dragoons
11 x French Gendarmes or Grenadiers de Cheval
15 x French Hussars
13 x French Mounted Officers
4 x French Mounted Generals

8 x British Infantry Marching in Stovepipe
8 x Prussian Landwehr Marching
8 x Polish Infantry Marching
8 x Bavarian Infantry Marching

4 x Guns
10 x Artillery Crew

Totals 800 Infantry and 80 Mounted and 4 Guns and 10 Crew

This should give me around 16 x battalions of French Infantry, a regiment of French Lancers and a battery of 4 guns. The rest will be used to fill out more units.


Sunday, April 20, 2014

The 2nd hand tray is emply! At last!

I set a goal for Easter to use those 4 days to work through the remaining 2nd hand stands in the tray mentioned and shown in earlier posts. When Friday arrived I began working through 1 row each morning with 4 rows left matching the 4 days off work.

I am happy to report I have finished 1 whole day earlier with Sunday afternoon seeing all figures now unbased and the tray empty.


Monday, March 24, 2014

Not much to report lately as every weekend has been slowly working through unbasing all these troops I bought off ebay.

Began with 2 full trays of stands. There were over 100 stands. Almost 25% left to do! Yay!


They are all based 8 infantry or 3 cavalry to a stand and the stands are cardboard but with plaster, filler, superglue, pva glue. I soak them for days in water and then remove them from the stands and use a knife to clean them up. Some break off their footing but I never leave a man behind so they will stand another day!

Monday, March 3, 2014

Building a permanent Waterloo table

Got the shits with my terrain recently and I figured I would go ahead and build a table for Waterloo even if it ended up being permanent or not something I was happy with. The reason is that I have not moved forward for months and months so doing something is better than nothing I think.

So here I go.

I already had a map marked out from tracing a map from the Waterloo Companion. I have it scaled to the 15mm grandscale for my Empire gaming even though I have 6mm figures.

I worked out that 6mm = approx 1.8m in height and so 3.33mm of contouring would be required for every 1m of height on the map. This would be an expensive exercise because Waterloo goes from 100m above sea level to 140m in some places meaning it would require up to 133mm of modelling. Using 5mm foamboard would mean I would need 27 x sheets of foam to reach 140m contours with each 10m contour line being 33mm or 7 x 5mm foam sheets. Ouch!

Not only that but the steepness of these contours would be strange when compared to the 15mm ground scale of 1.5mm per 1m which I have been working on to date. To be the same as the height would mean that 40m gradient needs 60mm of foam sheets. Each 10m contour line would need 15mm of foam or 3 x 5mm foam sheets. That sounds better. So this is what I went with.

Now the map shows 10m major contours with minor contours at +2.5, +5.0 and +7.5m between each 10m major contour. I only needed 3 contours INCLUDING the major contour so I chose to go with the +5.0, +7.5 and the following major contour.

This means I will be modelling the flat MDF board as the 100m level. Then 105m, 107.5m, 110m, 115m, 117.5m, 120m and so on up to 140m and will require 12 x sheets of 5mm foam board. Not too bad! Plus economy can be achieved because some of the higher contours are small and multiples may be achieved per sheet.

As I was building this 1st 2 x 2 square section, I worked out ways of saving time and foam board as well by cutting the 2 x minor contours into the same sheet as the major contour and using spare bits underneath the +7.5 and 1m contour lines. This left gaps but with the plaster later it should work out fine.

So here it is in pictures:

Trace the map including major and minor contours into tracing paper

Draw a grid to the ground scale used on the table. I also took this time to highlight roads in pink and darken the major contours.

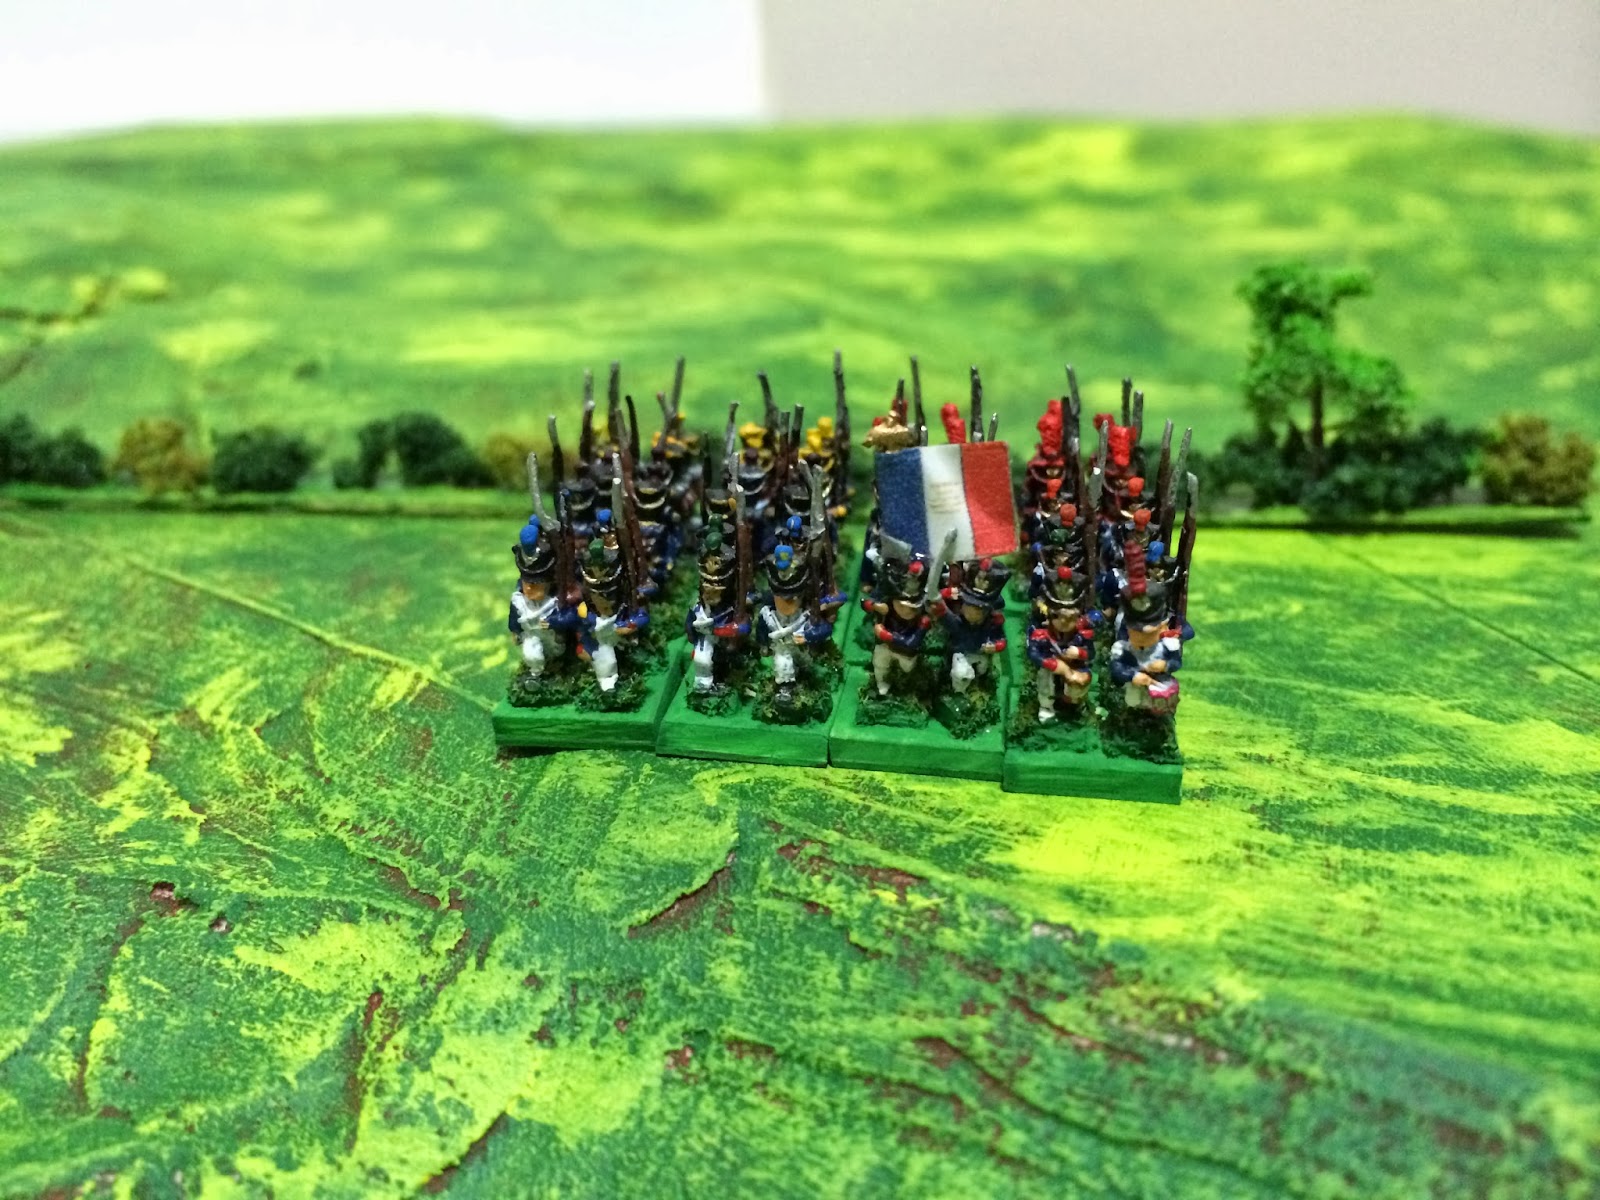
A close up of the 2 x 2 section I will work on. The area forward and right of La Belle Alliance 

Mark out the 2 x 2 mdf board 

Mark the grid on 5mm foamboard sheet

Draw contours on the foamboard

This shows the 2 x 2 mdf board which is the 100m contour line with the 120m contour line placed on top. I then added small legs to the 120m to make it sit at the correct height above the 100m board. This is so the boards to the right, which will be lower, match up accordingly.

This shows the 1st minor contour of 125m in place and glued. You will notice the 120m sheet is above the mdf board because of the "legs" I put under it. You will also notice the 125m contours are not a single sheet. This is something I found where I could use short legs under some contours to save on sheets of foam. So I could get 3 contours out of each sheet of foam.

Here you see the total board so far with the 125m minor, 127.5m minor and then the remaining sheet is the 130m major. Legs or spacers are glued under the 127.5m and the 130m pieces and you can see one of those glued as a small square in the bottom right corner where more work needs to be done as the terrain drops off that corner. More work needs to be done in the top right as well.

The same tile with all the contours added and a tidy up on the right side where the terrain drops down to the north-east.

After I did this, I played around with some paper mache and glued strips of paper to ease out the contours but all became a bit of a pain so in the end I decided just to leave the contours and paint it all up as is.

The plan is to paint a couple of coats of medium brown. Then about a 95% coverage coat of medium green and then a 30% highlight of yellow. This should give it a nice european grass look but keep it all flat in order to place my scenic terrain pieces down nicely and move troops nicely.


2 coats of medium brown were applied and I was just about to add the medium green when a friend suggested it would be good to spend a little time and effort to angle the contours a little using some gap filler. So off I went to the local store and purchased 3 different fillers and went to work applying them to the board.


Once dried, I reapplied the 2 coats of medium brown. 


It did look better and troops will move around a little more easily. However it now means I have less flat space to put scenic items. And to tell the truth there really wasnt that much space to put down flat scenic items anyhow. I began thinking about another board. Going back to large 4 x 2 base boards painted up ready and then model hills using multiple sheets of foamboard and mdf. Anyway lets finish this one off first.

Sunday, February 2, 2014

Waterloo Dutch and Belgians

I forgot to post a note about an order I got from my UK painter in November 2013. All the infantry required for all the Dutch and Belgian regiments for Waterloo at 1:15 ratios or 48 figure battalions.


Rebasing 3

The rebasing of all my Naps 6mm continues.

Here is a picture comparing the 3 bases I have used.

On the left is the new method with mounting board and magnet.

The middle was a prototype of 1mm card and magnet

The right was my old method with simple card and magnet.


Monday, October 14, 2013

Rebasing 2

As a follow on to the previous post about rebasing my 6mm napoleonics for a little more strength, I purchased a good quality cutting knife and some 1mm card and fresh magnet sheets.

I have some French Old Guard figures ready for basing - although they are missing their command figures - so I decided to base them up. 10mm x 10mm square bases x 12 bases for a full 720 man battalion.


After they were dry I played around with them a little and they certainly do feel a lot more solid in fingers that my current based of card and magnet.

I also purchased some mounting board which I think is 1.5mm thick and have glued some magnet sheet to that as another sample. 

Stay tuned.