Showing posts with label TUTORIALS. Show all posts

Thursday, May 21, 2020

Updated Technique Making Scenic Items


Here is the new technique I am using to make all my scenic items for the 20mm Modern Afghanistan tabletop as well as all my 15mm tabletops as well.

1. Use a section of hard product for the based. I used 3mm mdf for this example but thick tough card might also do the trick depending on how badly it may warp when done. Previously I have used 5mm cork tiles and even 2 cork tiles glued together to combat warping. I have found that if you paint or glue and flock sections of the piece at a time it is less likely to warp than if I was to paint or glue the whole in 1 step.


2. Use a sharp knife to chamfer the edges so when they are placed on a terrain tabletop, which for me is a mat, the edges will blend in better.


3. Glue on the main scenic item for the model. In my case here I am building a rocky outcrop so I added some filler using old left over pieces of foamcore and a couple of pieces of bark from my garden. Other models might include small buildings, stockpile or scatter pieces, woods, fields, gardens or any combination of those. Don't worry about all the rocks in the images below as I got ahead of myself.


4. Use plaster or filler of some sort to even out and build up the terrain so it looks like its naturally been that way for a while. I use a tube of SIKA WIDE CRACK FILLER - FILLER-105 from the local hardware store as it is a thick grey plaster/clay type substance with some texture already in it which works well as rough ground or wall render etc to give models a little more detail. I use my fingers to smooth it out and work it into the edges of scenic items but thin it out towards the edge of the base. If you are modelling a road or walking track into the scene you need to finish off my running a finger or two along the length of the track you are modelling a few times so it results in a slightly lower and worn out part of the model. With a water based filler you can dip your finger into water and rub it into the filler to make it more thin and spreadable where needed.


5. While the filler is still wet or after applying a layer of wood glue to parts of the scene, sprinkle various sized rocks and gravel or sand of the model. Remember to avoid tracks or roads as the traffic on those tend to be clear of such items.


6. Once the filler or glue for the rocks and gravel is dry, cover the whole model with a coat of your 1st color of paint. For me it is a medium brown acrylic house paint from a sample pot I got from my local hardware store matching the 2 most prominent colors on my terrain mat.


7. When the 1st coat of paint is dry, liberally apply 1 or 2 more "top" colors used to blend the model into the tabletop.


8. Apply any detail items to complete the model such as painting buildings, doors, windows, adding trees or shrubs or flock.


8. Spray with a clear sealer to lock everything into place and protect it from the years to come.


Any comments/suggestions are welcome so feel free to add a comment below.


Monday, September 19, 2016

15mm Napoleonic French Flag Prototype

Having gathered all the flags I need as image files from all over the internet I cut them all up into individual units and named them and then added them into a Word document where I can resize them very easily.


To begin with I decided upon 13mm high as the flag image per unit is wider than it is high. I then saved the document as a pdf file and printed it on a black and white printer to make sure the size is right.

I cut out the 1st unit flag and added it to the figure but it was way too big to fit.

The images were all resized to 11mm high instead and the file resaved and then reprinted.

This new flag was then applied to the figure with much better results.


The next step was to print the file again in colour and apply them to the figures.


Now I need to finish painting the Brigade Commander and that 1st Brigade of the 1st Division of the 1st Corps of French at Waterloo will be complete. Then on to the 2nd Brigade!

Monday, June 20, 2016

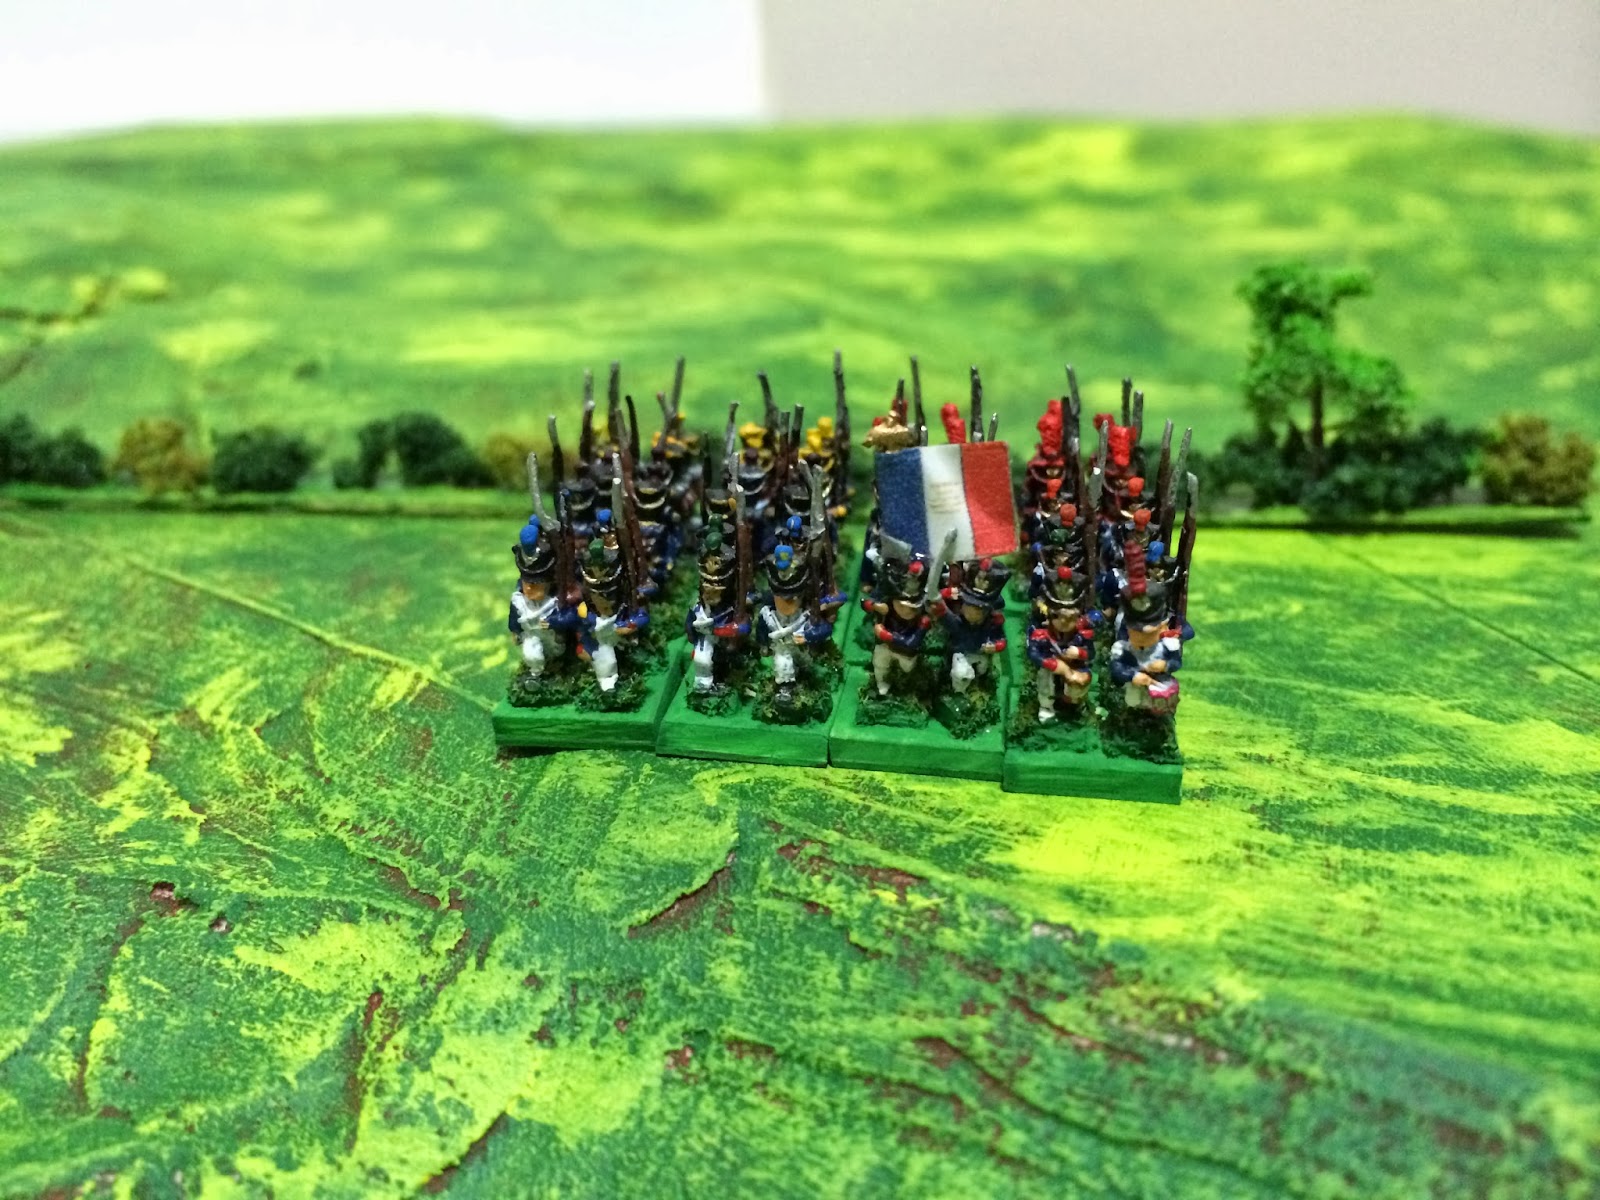
My 1st 15mm Unit Based

24hrs after finishing the painting of my 1st 15mm unit and applying the Vallejo Matt Varnish, I move on to basing them.

The 12 figure battalion all dry and ready for basing.

6 x company sized bases for Empire V. I use mounting board from an art store glued to magnets. The magnets I use are L and P driving plates from the local $2 store but sometimes I collect fridge magnets from local businesses as well. If I still cant find them then craft stores have magnetic sheets.

Figures glued into their companies.

I then use a modelling paste from an art store to build up the base a little

Bases built up a little 

A medium to dark green is added

And then the flock. Using a Galeforce 9 pack I got from a local game store years ago.

The Galeforce 9 flock

The final unit in attack column. Just need to add the pom pom company colours and the flag.


Wednesday, June 15, 2016

Painting Eureka 15mm/18mm Napoleonic French Infantry - My First 15mm

The first part of my new 15mm Napoleonics project is to paint up a battalion of 12 figures for 1815 French Line as I am most familiar with their uniforms.

This battalion is from Eureka and consists of 2 x Line Grenadiers, 2 x Voltigeurs and 8 x Fusiliers including an Officer and a Flag Bearer.

All paints used were from Vellejo and I use brushes 0 and 20/0 with pointy tips.

All figures were mounted on gold tees and painted with a dark oil wash which I use as a primer. This really highlights the detail for me to paint.

Use a medium brown to block paint all the flesh areas on the face, back of neck, hair and hands and the backpack and musket wood (I forgot those but did them later)


Use a darker blue to paint the jacket up to but not right on the raised areas which need to be white (ie the lapels in the centre and the cuffs and the straps). The idea is leave small lines between coloured areas which due to the oil primer appear as shadows.
Use white to carefully paint pants (stop before the jacket and leave a small unpainted line) and all the raised areas of the jacket in the centre, the straps, cuffs and musket strap. Paint them all as separate areas and carefully stop just before the edges of those areas. At this point paint ant straps you can see such as those for the sword and those on the blanket roll. I forgot these and doing it later is a lot harder to do. This took me a few coats as I use Vellajo and it seems to be quick tranparent and quick drying for me here in Queensland Australia.


Use black for the shako, boots, sword sheath and ammo pouch on the back
Use flesh to highlight the flesh areas applying paint to the nose, chin and cheeks and then outside of hand and try to get each finger separately leaving the darker colour in between the fingers if you can.


Use a medium grey for the blanket roll and gaiters on the boots


Apply a bright red which for this figure being a grenadier means the collars, shoulder nests, cuffs up to before the edge of the white, the shako top ring and the plume. I accidentally painted the turnbacks red when they should be white but this is corrected later.


At this point I can finish the figure by going back over the blue with the final blue I want but stopping short of but not at the cuffs. Just really the topsides and visual points of the arms only.
Use leather or wood wash for the backpack and musket stock.
Apply silver to musket and bayonet and ammo pouch badge and sword handle
Use white for straps on backpack
I used a khaki for the waterbottle but it turns out it should be a dull yellow.
Finally use gold or brass for shako badge and using a fine point brush see if you can add 2 buttons to each cuff and some buttons to either side of the white jacket centre.

Stay tuned for a following post getting them based and adding a flag and labels.

Monday, March 3, 2014

Building a permanent Waterloo table

Got the shits with my terrain recently and I figured I would go ahead and build a table for Waterloo even if it ended up being permanent or not something I was happy with. The reason is that I have not moved forward for months and months so doing something is better than nothing I think.

So here I go.

I already had a map marked out from tracing a map from the Waterloo Companion. I have it scaled to the 15mm grandscale for my Empire gaming even though I have 6mm figures.

I worked out that 6mm = approx 1.8m in height and so 3.33mm of contouring would be required for every 1m of height on the map. This would be an expensive exercise because Waterloo goes from 100m above sea level to 140m in some places meaning it would require up to 133mm of modelling. Using 5mm foamboard would mean I would need 27 x sheets of foam to reach 140m contours with each 10m contour line being 33mm or 7 x 5mm foam sheets. Ouch!

Not only that but the steepness of these contours would be strange when compared to the 15mm ground scale of 1.5mm per 1m which I have been working on to date. To be the same as the height would mean that 40m gradient needs 60mm of foam sheets. Each 10m contour line would need 15mm of foam or 3 x 5mm foam sheets. That sounds better. So this is what I went with.

Now the map shows 10m major contours with minor contours at +2.5, +5.0 and +7.5m between each 10m major contour. I only needed 3 contours INCLUDING the major contour so I chose to go with the +5.0, +7.5 and the following major contour.

This means I will be modelling the flat MDF board as the 100m level. Then 105m, 107.5m, 110m, 115m, 117.5m, 120m and so on up to 140m and will require 12 x sheets of 5mm foam board. Not too bad! Plus economy can be achieved because some of the higher contours are small and multiples may be achieved per sheet.

As I was building this 1st 2 x 2 square section, I worked out ways of saving time and foam board as well by cutting the 2 x minor contours into the same sheet as the major contour and using spare bits underneath the +7.5 and 1m contour lines. This left gaps but with the plaster later it should work out fine.

So here it is in pictures:

Trace the map including major and minor contours into tracing paper

Draw a grid to the ground scale used on the table. I also took this time to highlight roads in pink and darken the major contours.

A close up of the 2 x 2 section I will work on. The area forward and right of La Belle Alliance 

Mark out the 2 x 2 mdf board 

Mark the grid on 5mm foamboard sheet

Draw contours on the foamboard

This shows the 2 x 2 mdf board which is the 100m contour line with the 120m contour line placed on top. I then added small legs to the 120m to make it sit at the correct height above the 100m board. This is so the boards to the right, which will be lower, match up accordingly.

This shows the 1st minor contour of 125m in place and glued. You will notice the 120m sheet is above the mdf board because of the "legs" I put under it. You will also notice the 125m contours are not a single sheet. This is something I found where I could use short legs under some contours to save on sheets of foam. So I could get 3 contours out of each sheet of foam.

Here you see the total board so far with the 125m minor, 127.5m minor and then the remaining sheet is the 130m major. Legs or spacers are glued under the 127.5m and the 130m pieces and you can see one of those glued as a small square in the bottom right corner where more work needs to be done as the terrain drops off that corner. More work needs to be done in the top right as well.

The same tile with all the contours added and a tidy up on the right side where the terrain drops down to the north-east.

After I did this, I played around with some paper mache and glued strips of paper to ease out the contours but all became a bit of a pain so in the end I decided just to leave the contours and paint it all up as is.

The plan is to paint a couple of coats of medium brown. Then about a 95% coverage coat of medium green and then a 30% highlight of yellow. This should give it a nice european grass look but keep it all flat in order to place my scenic terrain pieces down nicely and move troops nicely.


2 coats of medium brown were applied and I was just about to add the medium green when a friend suggested it would be good to spend a little time and effort to angle the contours a little using some gap filler. So off I went to the local store and purchased 3 different fillers and went to work applying them to the board.


Once dried, I reapplied the 2 coats of medium brown. 


It did look better and troops will move around a little more easily. However it now means I have less flat space to put scenic items. And to tell the truth there really wasnt that much space to put down flat scenic items anyhow. I began thinking about another board. Going back to large 4 x 2 base boards painted up ready and then model hills using multiple sheets of foamboard and mdf. Anyway lets finish this one off first.